Assembly Guide
Step-by-Step Assembly Guide for OMX
INFO
- Assemble exactly as shown in the official manual video (posture, cable routing, torque)
- When all joints are at initial point (180°), the posture must match the following reference image exactly.
INFO
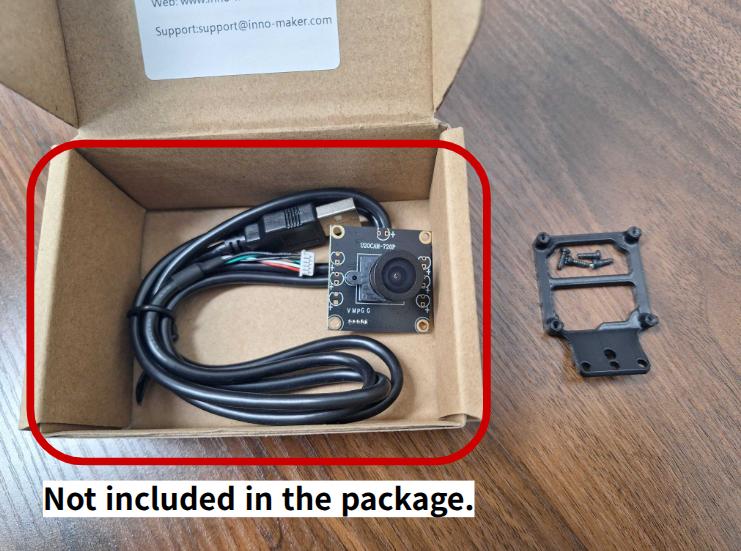
- While the frame and mounting bolts are included as standard, please note that the camera is sold separately. Please find the external vendor link at the end note of the ROBOTIS eShop product detail page.
Overview
OMX-AI is operated as a leader–follower system. Each arm has a dedicated role and naming:
- Leader: OMX-L
- Role: Human teleoperation input device that generates reference motions
- Follower: OMX-F
- Role: Executes the leader's motion precisely in real time
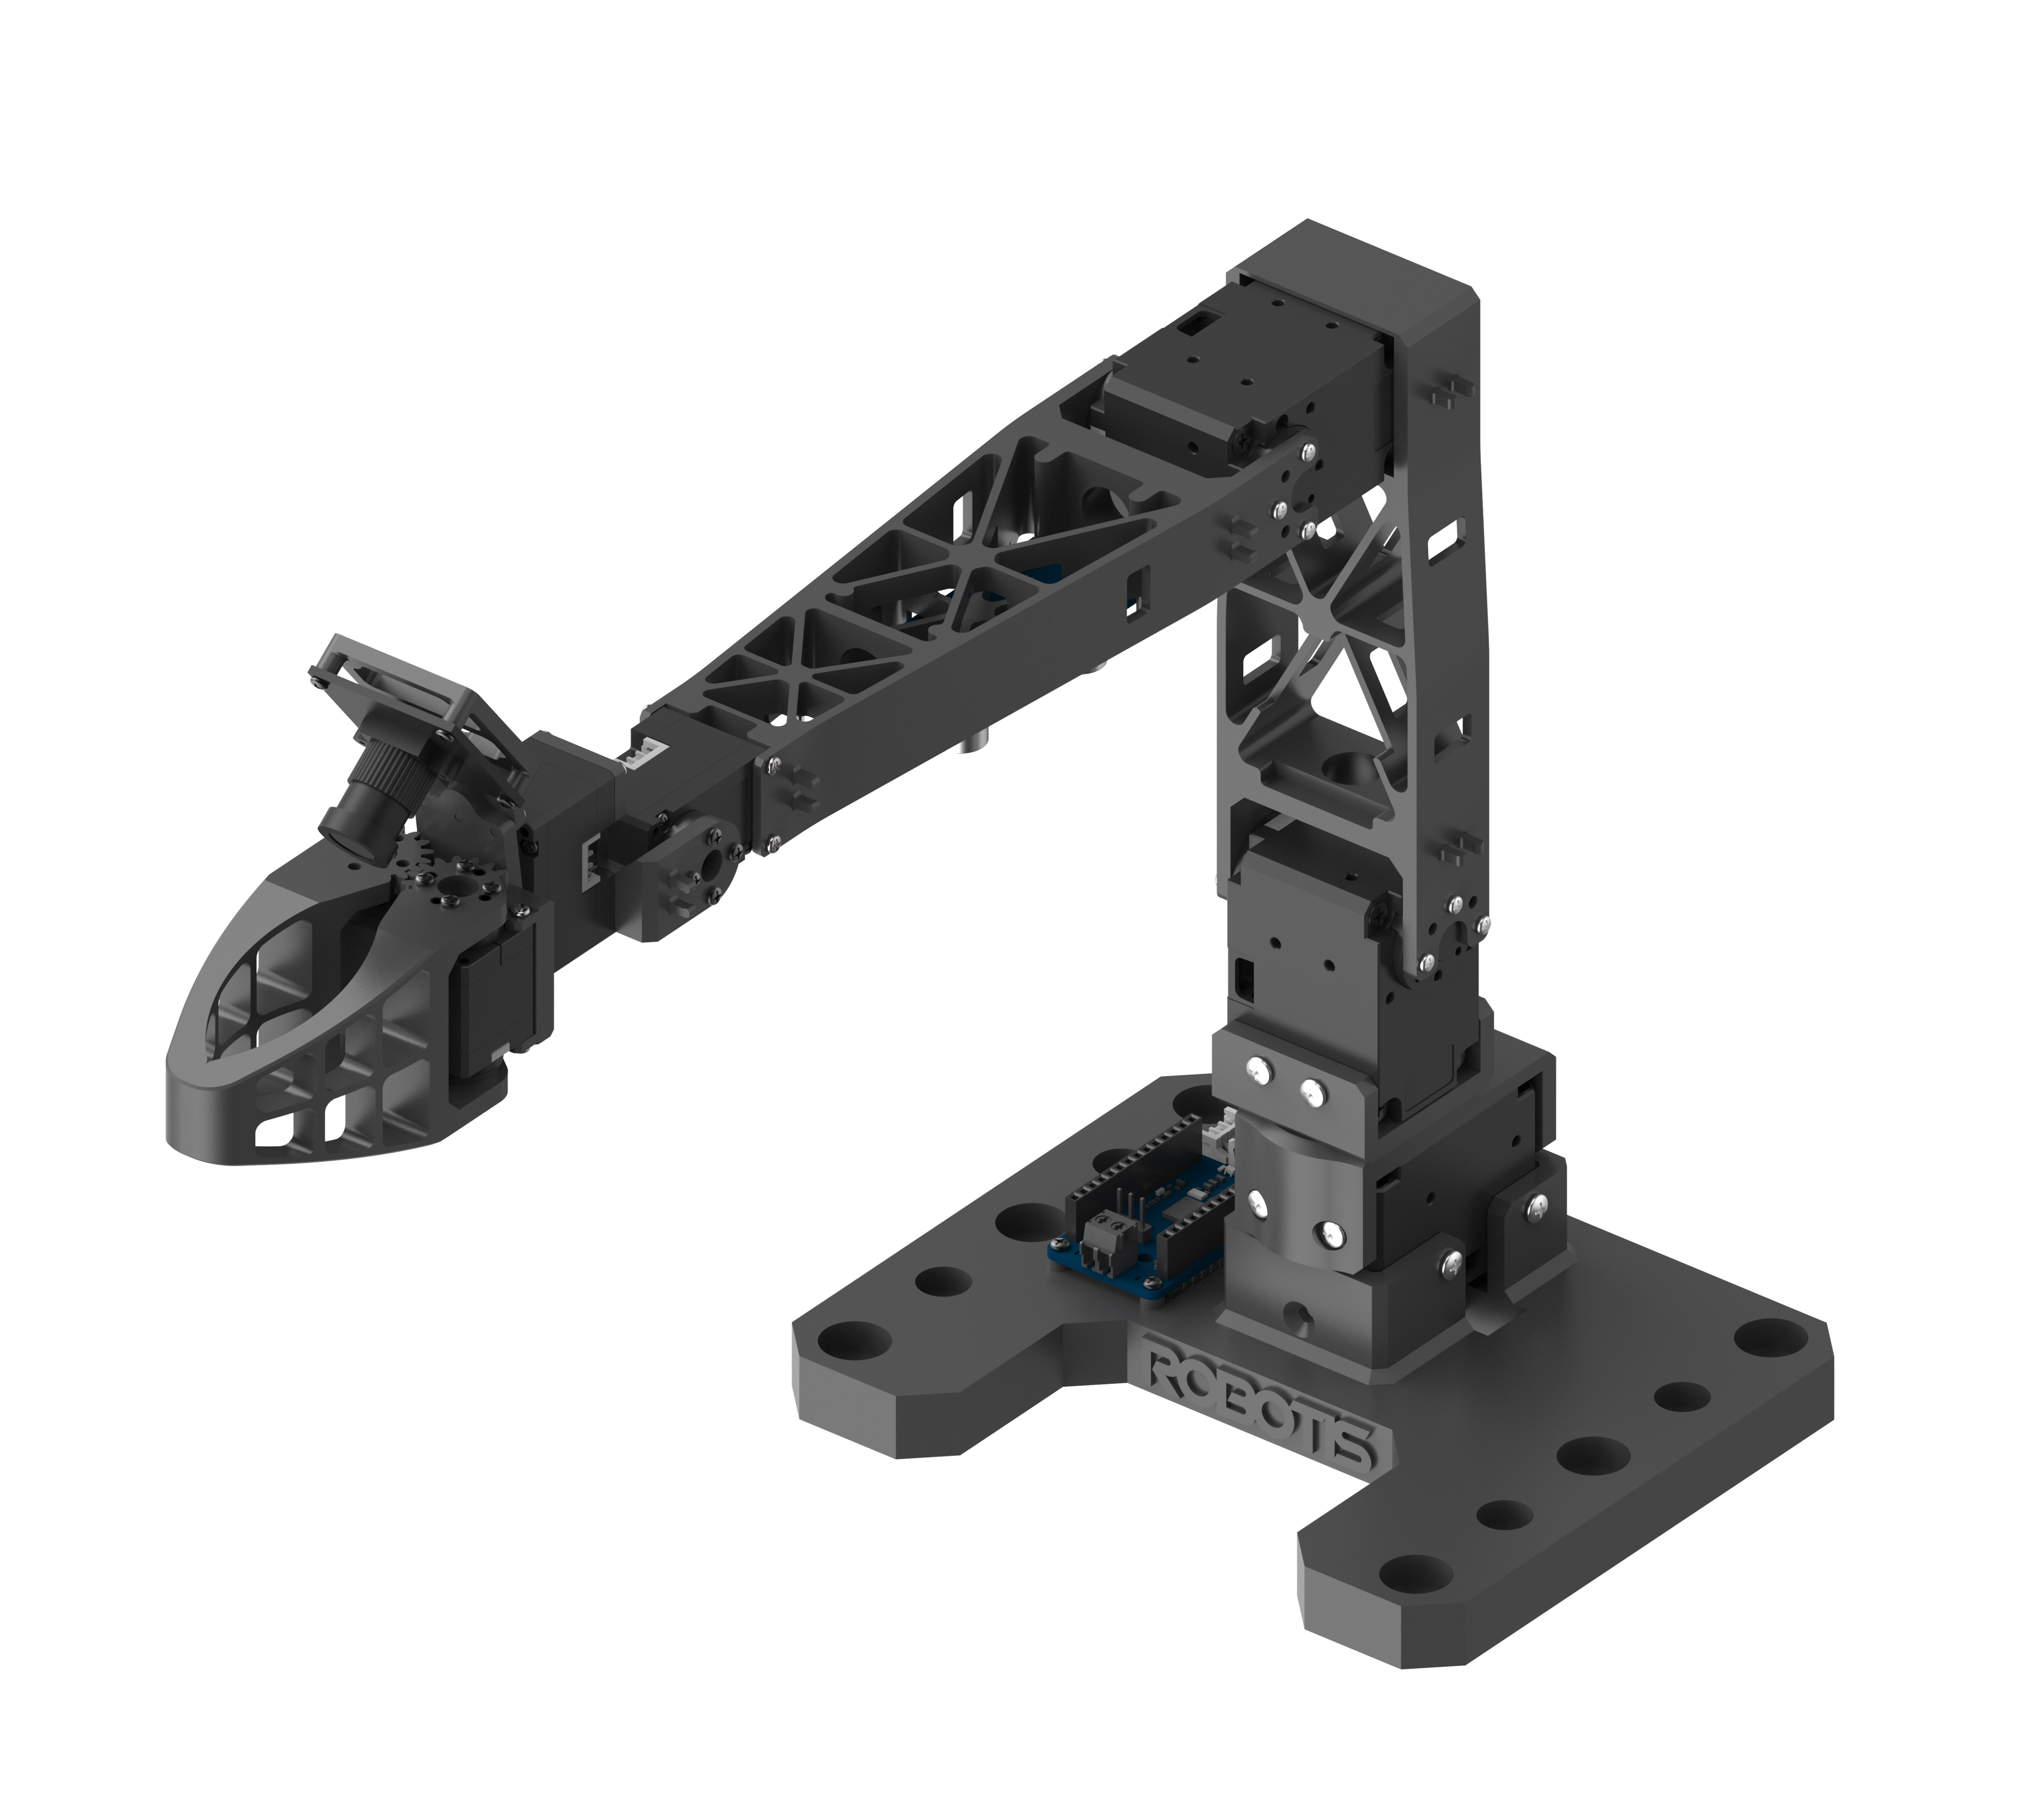
Assembly Guide — OMX-L
Motor Configuration (OMX-L)
| Joint | Motor | ID |
|---|---|---|
| 1 | XL330-M288 | 1 |
| 2 | XL330-M288 | 2 |
| 3 | XL330-M288 | 3 |
| 4 | XL330-M288 | 4 |
| 5 | XL330-M288 | 5 |
| 6 | XL330-M077 | 6 |
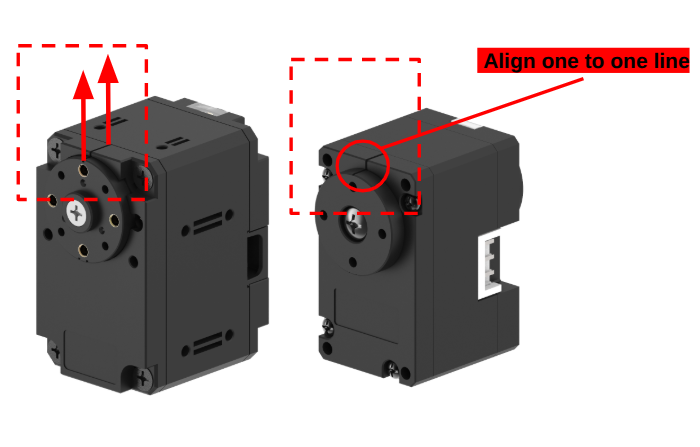
WARNING
- Always orient the motor horn upward as shown in the photo.
Assemble exactly as in the official manual video.
Step 1
Step 2
Step 3
Step 4
Step 5
Step 6
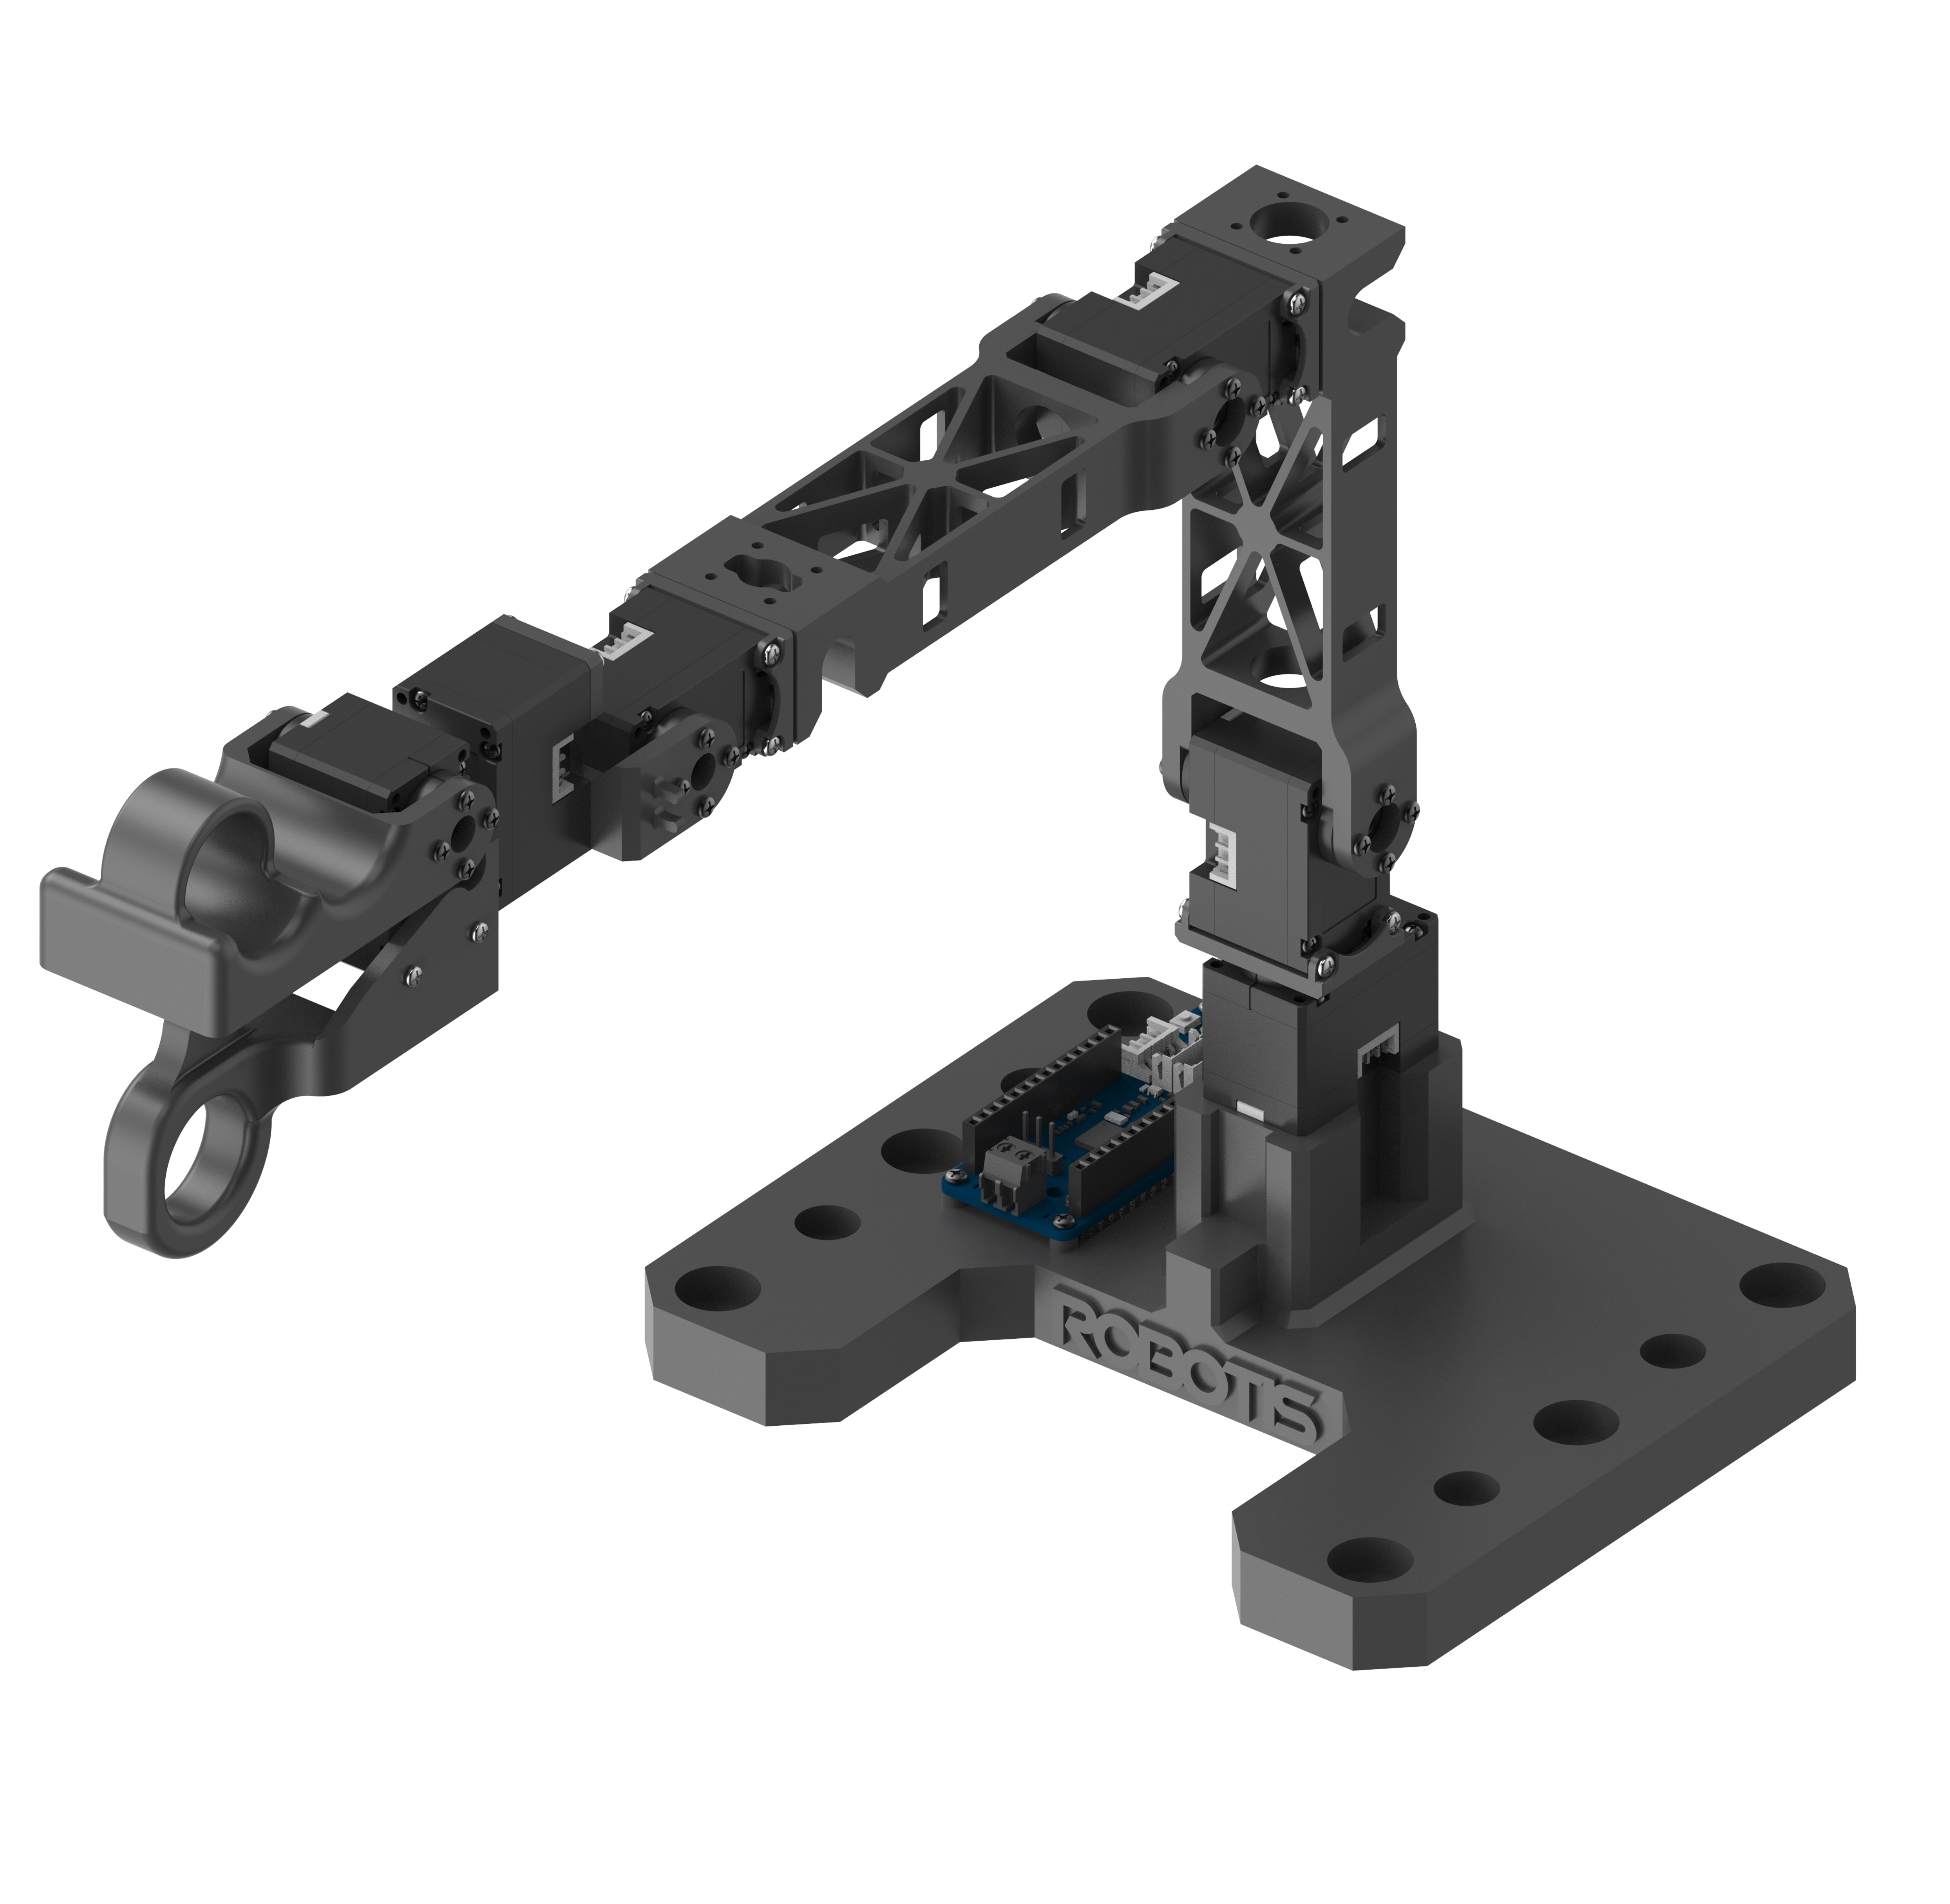
Assembly Guide — OMX-F
Motor Configuration (OMX-F)
| Joint | Motor | ID |
|---|---|---|
| 1 | XL430-W250-T | 11 |
| 2 | XL430-W250-T | 12 |
| 3 | XL430-W250-T | 13 |
| 4 | XL330-M288 | 14 |
| 5 | XL330-M288 | 15 |
| 6 | XL330-M288 | 16 |
WARNING
- Always orient the motor horn upward as shown in the photo.
Assemble exactly as in the official manual video.
Step 1
Step 2
Step 3
Step 4
Step 5
Step 6
Video: Cable & Camera Assembly
🎉 Assembly Complete
Your OMX assembly is complete. Continue to the next step.
Appendix
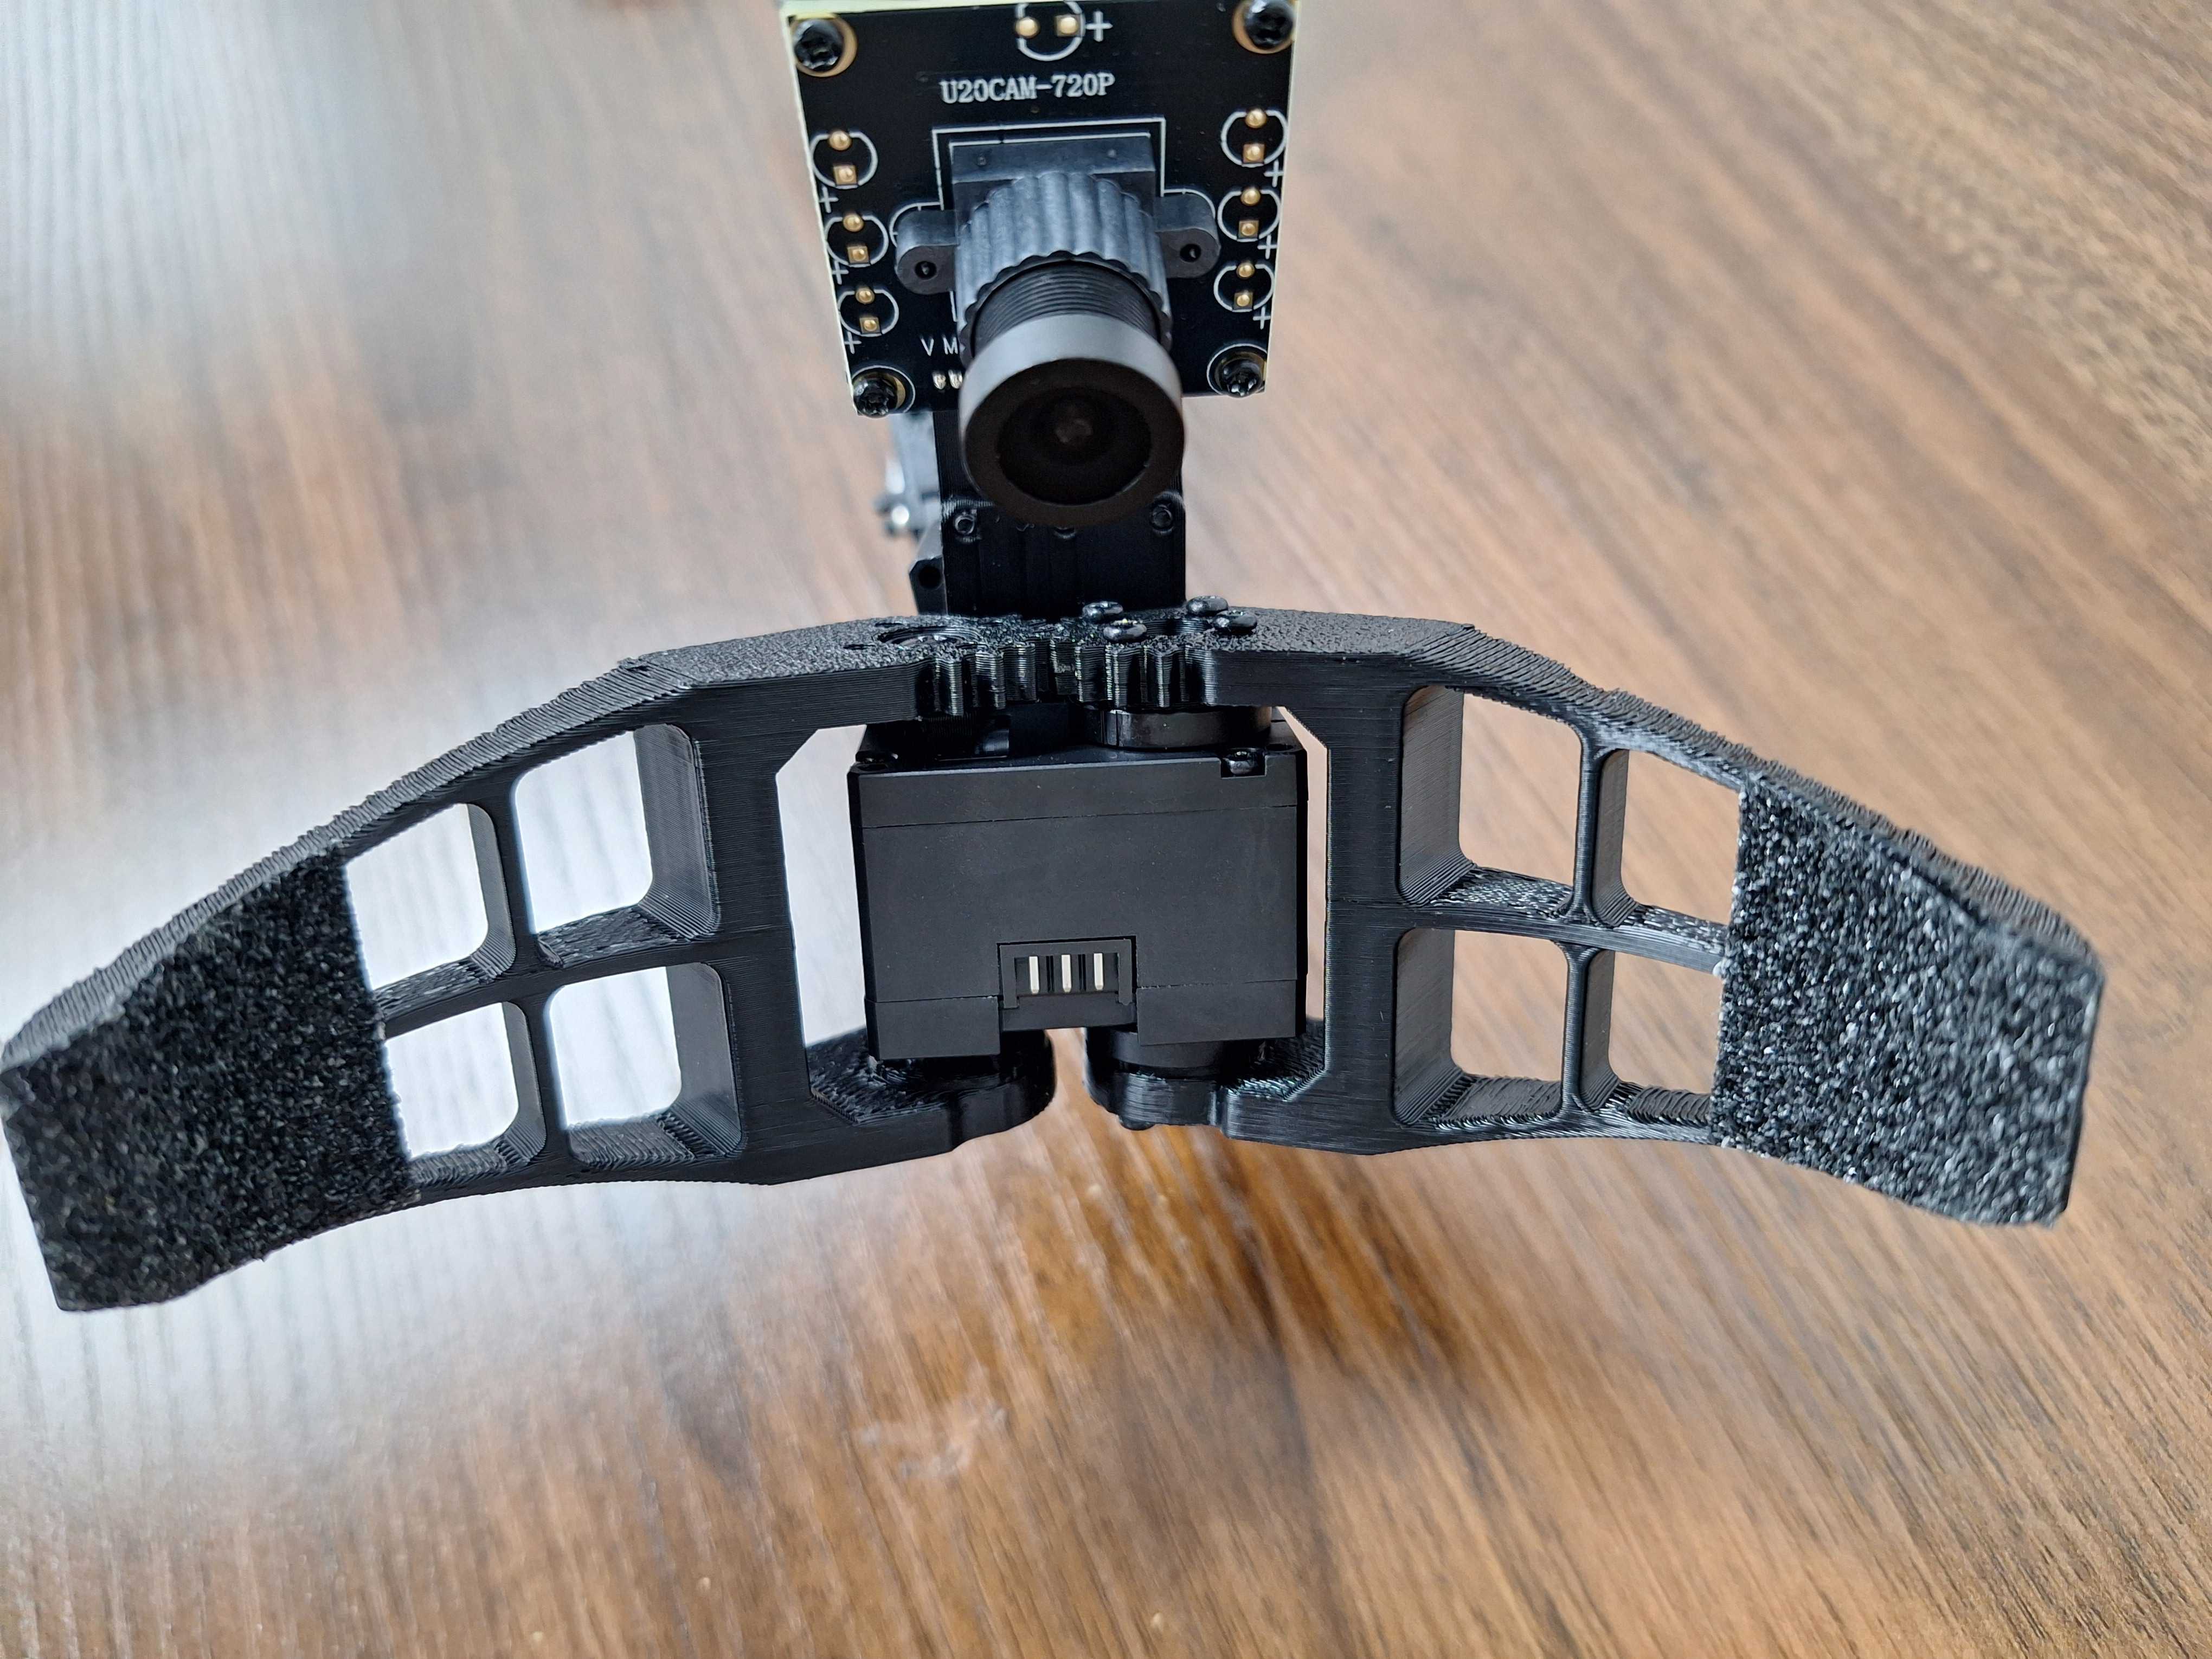
TIP
- Applying anti-slip tape to the gripper/contact surfaces, as shown below, can significantly improve grasp efficiency.