Model Training
This guide walks you through training imitation learning models for the AI Worker, based on datasets collected via the Web UI.
Once preparing your dataset is done, the policy model can be trained using either the Web UI or the LeRobot CLI.
You can choose one of the following options:
Model Training With Web UI
You can train the model on either the Robot PC or your own training PC (USER PC). Choose the appropriate option below.
Train the model on the Robot PC (NVIDIA Jetson AGX Orin)
1. Setup Physical AI Tools
You can skip this step
2. Prepare Your Dataset
The dataset to be used for training should be located at:
~/physical_ai_tools/docker/huggingface/lerobot/${HF_USER}/
Datasets collected using Physical AI Tools are automatically saved to that path. However, if you downloaded the dataset from a hub or copied it from another PC, you need to move the dataset to that location.
Please refer to the folder structure tree below:
~/physical_ai_tools/docker/huggingface/lerobot/
  ├── USER_A/           # ← ${HF_USER} folder
  │   ├── dataset_1/    # ← Dataset
  │   │   ├── data/
  │   │   ├── meta/
  │   │   └── videos/
  │   └── dataset_2/
  └── USER_B/
      └── dataset_3/
INFO
${HF_USER}can be any folder name you prefer.<your_workspace>is the directory containing physical_ai_tools
3. Train the Policy
a. Launch Physical AI Server
WARNING
If the Physical AI Server is already running, you can skip this step.
Enter the Physical AI Tools Docker container:
ROBOT PC
cd ~/physical_ai_tools && ./docker/container.sh enterThen, launch the Physical AI Server with the following command:
ROBOT PC 🐋 PHYSICAL AI TOOLS
ai_serverb. Open the Web UI
Open your web browser and navigate to the Web UI (Physical AI Manager).
(Refer to the Dataset Preparation > Web UI > 1. Open the Web UI for more details.)
Open your web browser and access
http://ffw-{serial number}.local
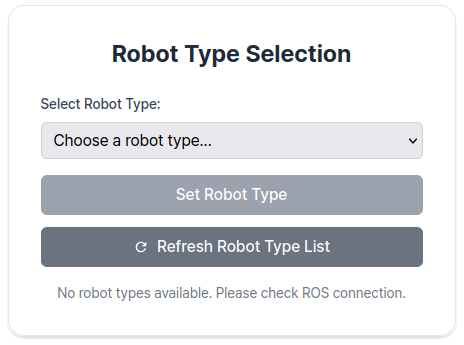
On the Home page, select the type of robot you are using.

c. Train the Policy
Go to the Training page and follow the steps below:

At the bottom of the page, select either New Training or Resume Training.

| Training Type | Description | When to Use |
|---|---|---|
| New Training | Start training a new model | - First time training - Starting with a new dataset - Training with a different policy on the same dataset |
| Resume Training | Continue training from a saved checkpoint | - Training was interrupted and you want to resume - Want to incorporate additional datasets into the model - Want to modify training options (Steps, Save Frequency, etc.) and retrain |
For new training, follow these steps:
Step 1: Select the
Dataset,Policy TypeandDevice.Step 2: Enter the
Output Folder Name.Step 3: (Optional) Modify
Additional Optionsif needed.
- Training Information
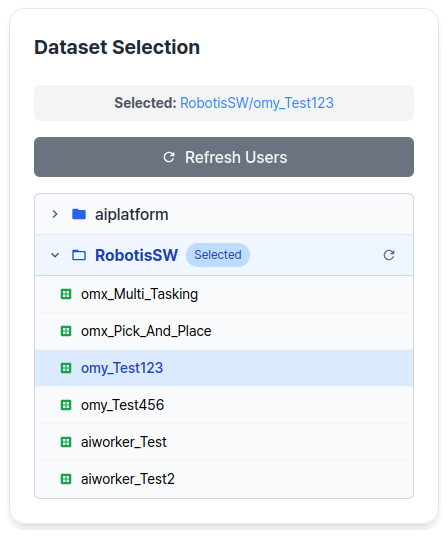
The datasets stored in the ~/physical_ai_tools/docker/huggingface/ directory on the host (or /root/.cache/huggingface/ inside the Docker container) will be listed automatically. 
Click Start Training to begin training the policy.

The training results will be saved in the ~/physical_ai_tools/lerobot/outputs/train/ directory.
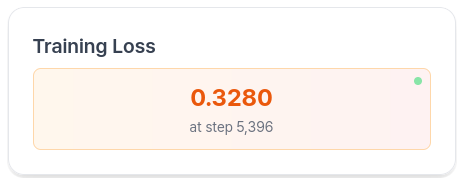
You can monitor the training loss while training is in progress. 
(Optional) Uploading Checkpoints to Hugging Face
Enter the Physical AI Tools Docker container:
ROBOT PC
cd ~/physical_ai_tools && ./docker/container.sh enterNavigate to the LeRobot directory:
ROBOT PC 🐋 PHYSICAL AI TOOLS
cd /root/ros2_ws/src/physical_ai_tools/lerobotTo upload the latest trained checkpoint to the Hugging Face Hub:
huggingface-cli upload ${HF_USER}/act_ffw_test \
  outputs/train/act_ffw_test/checkpoints/last/pretrained_model
This makes your model accessible from anywhere and simplifies deployment.
Model Training With LeRobot CLI
1. Prepare Your Dataset
The dataset to be used for training should be located at:
~/physical_ai_tools/docker/huggingface/lerobot/${HF_USER}/.
If your dataset is in a different location, please move it to this path.
INFO
You can replace ${HF_USER} with the folder name you used when recording your dataset.
2. Train the Policy
Enter the Physical AI Tools Docker container:
ROBOT PC
cd ~/physical_ai_tools && ./docker/container.sh enterNavigate to the LeRobot directory:
ROBOT PC 🐋 PHYSICAL AI TOOLS
cd /root/ros2_ws/src/physical_ai_tools/lerobotOnce the dataset has been transferred, you can train a policy using the following command:
python -m lerobot.scripts.train \
  --dataset.repo_id=${HF_USER}/ffw_test \
  --policy.type=act \
  --output_dir=outputs/train/act_ffw_test \
  --policy.device=cuda \
  --log_freq=100 \
  --save_freq=1000 \
  --policy.push_to_hub=false